.png)
How to Clean Your Fridge Safely: A Step-by-Step Guide
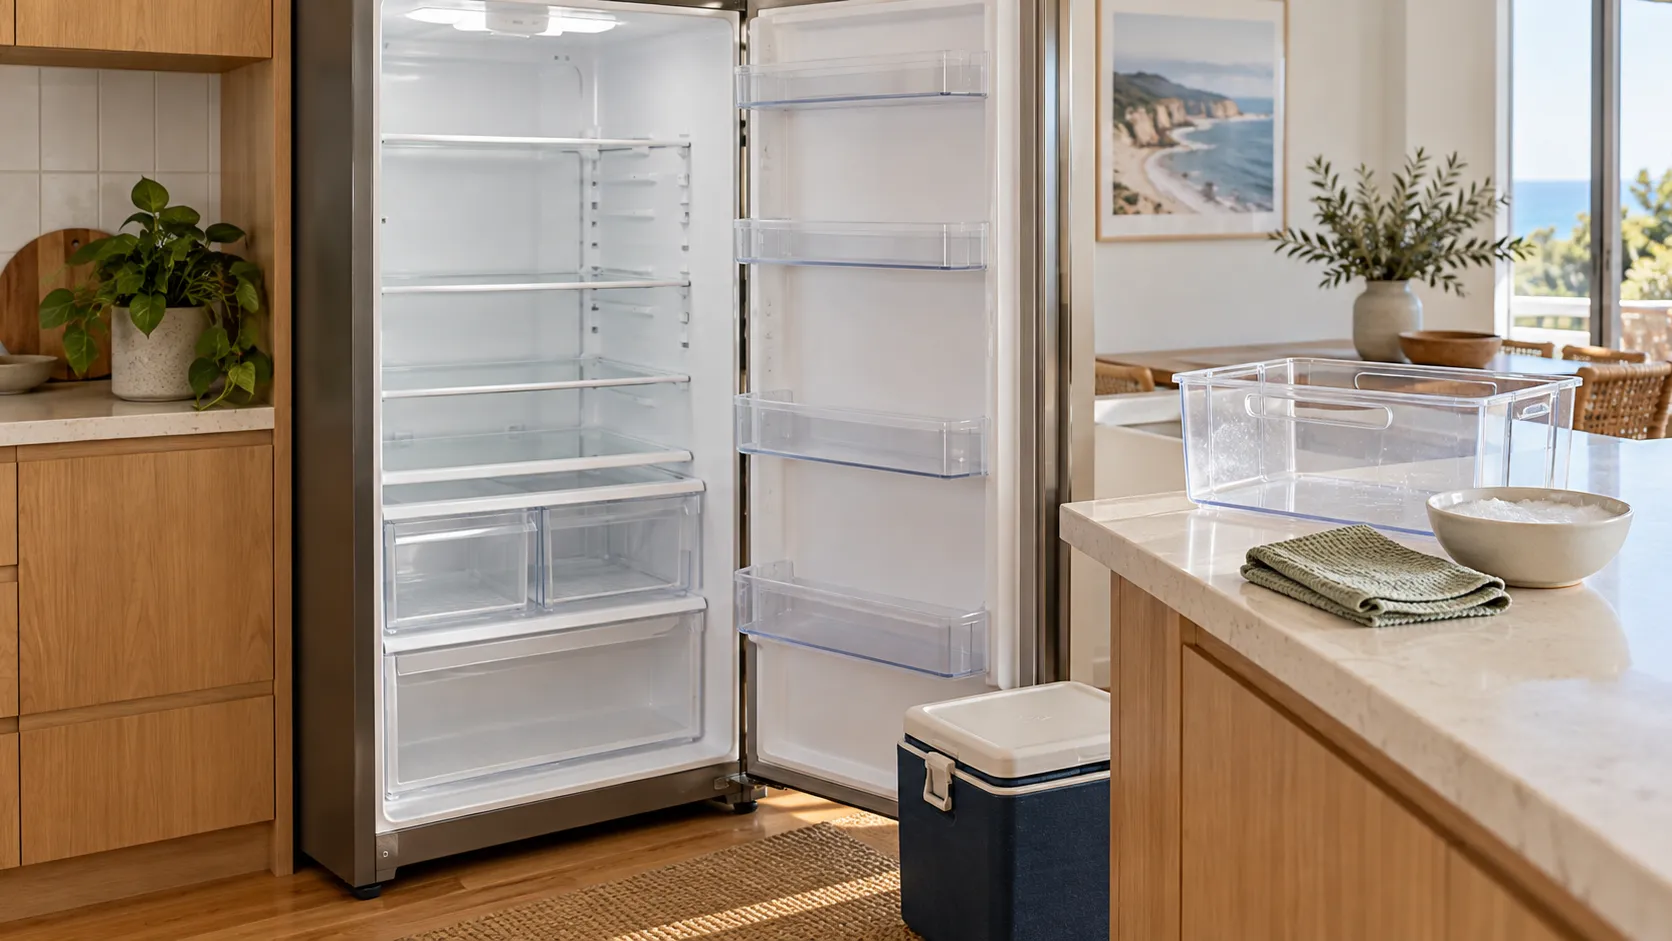
A good fridge clean starts before you remove the first shelf: arrange somewhere to keep chilled food cold, check your appliance manual, and gather everything you need. Then empty, clean, dry and reassemble the fridge before returning food once safe cold storage is restored. Taking that approach makes the job easier and avoids turning a tidy-up into hours of food sitting on the kitchen bench.
This guide is for everyday household fridge cleaning, whether you live in a Sydney apartment or a family home in the Illawarra or Shoalhaven. It covers removable shelves, drawers, door seals, spills and the reset afterwards. It is not a freezer-defrosting guide or a substitute for instructions for your particular appliance.
Download the free fridge cleaning checklist (PDF). Print it before starting: it includes a preparation list, temperature record and space for shopping and maintenance notes.
Start with a plan for the food
The NSW Food Authority advises keeping home fridges below 5°C and checking them with a fridge thermometer. Follow food-label storage directions, discard food past its use-by date, and remember that a best-before date has a different meaning. Food past that date may still be safe if stored correctly and showing no spoilage. See the Authority’s keeping food safe guidance.
Choose a day before the main grocery shop, when you have fewer items to move. If another working fridge is available, clear space there. Otherwise prepare an insulated cooler with enough ice or frozen packs and a thermometer to monitor its temperature. A cooler is useful only if it actually keeps the food cold; an empty picnic bag is not a cold-storage plan.
Do not set a large collection of dairy, leftovers and meat on the bench while you start looking for cleaning supplies. Keep the cold-storage container closed, separate raw foods from ready-to-eat items, and organise the job so you can finish without interruptions. If suitable cold storage is unavailable, postpone the full clean and tackle a small spill promptly instead.
What you need
- Your fridge’s model-specific care instructions.
- Clean soft cloths, including a separate dry cloth.
- Mild detergent approved for the surfaces you are cleaning.
- A clean basin or sink and a soft, non-scratching brush where permitted.
- A towel or other protected surface for removable parts.
- A rubbish bag and a small shopping or replacement list.
- A fridge thermometer and suitable temporary cold storage.
Read the manual before choosing a cleaner. A product suitable for an exterior stainless-steel panel may not be appropriate for interior plastic, rubber seals or surfaces that contact food. Avoid building the job around a social-media cleaning recipe. You need a method that suits the appliance, removes the particular mess and leaves no unwanted residue.
The NSW Food Authority’s kitchen hygiene guidance recommends keeping equipment clean and dry and washing hands after handling waste or raw food. Start with clean cloths, and change them if they become dirty. Keep the cloth used for the floor or rubbish area out of this job.
Step 1: Clear the space and check the manual
Clear enough bench space to put a shelf down flat. Clean the sink before using it for fridge parts, and move dishes out of the way. Photograph the shelf arrangement and drawer positions so you can put everything back without guessing. Put any removable clips in a small container where they cannot disappear down the plughole.
Follow the manual’s instructions about switching off or unplugging the appliance before cleaning. Keep plugs, controls, lights and other electrical components dry. Do not pull out a heavy fridge just to reach a socket without checking its installation and any water connection. If you cannot safely follow the required procedure, arrange help before proceeding.
For a rented home with a supplied fridge, save the model number and record pre-existing damage. A photograph of a cracked drawer or split seal is more useful than trying to remember when you first noticed it. Report repair needs through the usual property-management channel rather than forcing a stuck or damaged part.
Step 2: Empty and sort in a sensible order
Move chilled food directly into the prepared cold storage. Keep items together by type so you can find them again. Check labels and opening dates while transferring them; do not turn the kitchen bench into a lengthy sorting station. Make a note of replacements so you do not buy another jar of something you already have.
For a shared household, agree in advance who decides what stays. An unlabelled container can create a surprising amount of debate halfway through the job. Use the checklist to record items that need an owner or a decision, while still keeping anything requiring refrigeration cold.
Remove loose crumbs and collect obvious debris before wiping. Keep leaking packages contained. If a spill involves raw meat juices, isolate the affected area and avoid dragging the same cloth across the rest of the fridge. Follow appropriate food-contact cleaning and sanitising instructions for the surface and product involved.
Step 3: Clean removable shelves and drawers
Take out only components the manual says are removable. Some shelf frames have hidden clips; others are not designed to separate at all. If a piece resists, check the instructions rather than levering it with a knife or screwdriver. Support large glass shelves with both hands and give yourself a clear place to put them down.
Avoid sudden temperature changes. Samsung’s shelf and drawer cleaning guide warns that warm or hot water can shatter cold glass and says to let glass reach room temperature before cleaning with lukewarm water. Its removal diagrams are model-specific, so use your own manual for the exact procedure.
Clean each approved removable piece, including the underside and accessible corners, using the permitted method. Work over a protected sink or bench so a slippery shelf cannot hit a hard edge. Remove detergent residue as directed and dry thoroughly before replacing it. Do not assume the dishwasher is suitable: heat and handling requirements vary between components.
For a sticky ring beneath a sauce bottle, give the approved cleaning method time to loosen it before wiping again. Repeated gentle passes are preferable to escalating immediately to an abrasive pad. Stop if plastic becomes scratched, a coating changes appearance or a crack becomes visible.
Step 4: Wipe the interior and door seals
Work from the upper interior towards the bottom so you do not keep wiping debris onto a finished area. Use a damp cloth rather than flooding the cavity. Pay attention to shelf supports, the base beneath the drawers and accessible corners, while keeping water away from controls, vents and electrical parts.
Gently clean accessible folds in the door seal without stretching or pulling it out of position. Dry them, then inspect for splits or areas that no longer sit properly. An ongoing seal problem needs attention beyond cleaning; write it on the checklist so it does not disappear from the household to-do list.
Stay within the manual’s routine maintenance instructions. Do not push tools into drain holes, remove internal panels or dismantle an ice maker to chase a smell. Persistent water pooling, recurring ice or a fridge that cannot maintain its temperature calls for model-specific troubleshooting or an appliance technician.
Step 5: Reassemble, cool and restock
Put dry parts back in their correct positions, check they are secure, and restore power according to the manual. Close the door and check the temperature before returning chilled food. The Food Authority advises allowing the fridge to recover after cleaning and avoiding overloading because it restricts airflow. Store raw foods in covered containers below cooked and ready-to-eat food.
Cold food that has warmed needs a separate safety decision. The Authority’s guidance applies cumulative time between 5°C and 60°C: under two hours, use or refrigerate; two to four hours, use immediately or discard; four hours or more, discard. Earlier time out of refrigeration counts too. Do not rely on smell to settle uncertainty; consult the full guidance.
Restock with everyday items easy to reach. Keep labels visible and avoid stacking containers so tightly that you cannot see what sits behind them. An “use first” area can be helpful for suitable items approaching their relevant dates, but it does not extend those dates or replace storage instructions.
A realistic routine between full cleans
There is no single cleaning calendar that suits every household. As a practical planning suggestion, check the fridge before each grocery shop, deal with spills promptly and schedule a more thorough clean when shelves, drawer tracks or seals need attention. Adjust this to the appliance instructions, how heavily the fridge is used and what you notice during checks.
For example, a busy family could make the shopping-list check the moment to inspect one shelf and the produce drawers. A person living alone may find a smaller, regular check easier than setting aside an entire afternoon. The useful habit is noticing problems while they are small and putting a specific follow-up in the calendar.
Keep this task alongside the wider kitchen routine in our room-by-room cleaning guide. If someone else helps with the housework, agree who sorts food, who prepares cold storage and who checks that the appliance is back on afterwards.
Common mistakes to avoid
- Starting without cold storage: preparation matters as much as the wiping.
- Forcing a drawer or shelf: find the model instructions before assuming it lifts out.
- Using hot water on cold glass: allow the temperature to equalise first.
- Masking an odour: investigate the source and clean affected areas rather than relying on fragrance.
- Restocking before checking: confirm parts are secure, surfaces are dry and cold storage is restored.
- Forgetting the cleanup: wash used cloths and clean the sink and bench afterwards.
Frequently asked questions
Do I need a specialist fridge cleaner?
Check the appliance instructions first. Do not buy a specialist product simply because it says “kitchen” on the label. The important questions are whether it suits the interior materials, what residue removal is required and whether its intended use matches the task.
What if the fridge still smells after cleaning?
Check overlooked containers and accessible areas beneath drawers. Samsung recommends removing the source and cleaning the affected area. If the smell persists, use your appliance’s troubleshooting advice rather than dismantling parts. A deodoriser does not resolve a leak, trapped contamination or a cooling fault.
Can I ask my cleaner to do the fridge?
Ask about the scope before booking and explain the appliance, its condition and what you want cleaned. Confirm who will empty it and protect the food. Our guide to preparing for a cleaner can help you plan the handover. Contact Housekept to discuss the cleaning help you need and confirm what can be included.
Sources and checked date
Checked 9 October 2026. Household planning suggestions are Housekept editorial guidance; appliance instructions take priority for your model.
- NSW Food Authority: Keeping food safe.
- NSW Food Authority: Cleaning and hygiene.
- Samsung: Refrigerator shelf and drawer removal and cleaning guide (manufacturer guidance; model compatibility must be checked).