.png)
Best mould and mildew removers for Sydney bathrooms 2026

Best overall for small areas of surface mould: detergent and water. Best for stubborn staining on compatible hard surfaces: a labelled chlorine-bleach mould remover. Best chlorine-free option: a labelled hydrogen-peroxide mould remover. This 2026 guide explains which approach fits your bathroom and when to stop DIY cleaning; Housekept provides home cleaning across Sydney, Shoalhaven and Illawarra.
TL;DR
- The best mould remover depends on the surface: detergent and water suit small patches on washable hard surfaces.
- Chlorine-bleach mould removers target staining; they do not fix leaks, trapped moisture or damaged silicone.
- Choose hydrogen-peroxide mould removers only when the label covers mould and your bathroom surface.
- Housekept provides routine home cleaning; persistent or concealed bathroom mould needs its moisture source investigated.
Why this matters
A bathroom cleaner has two separate jobs: removing contamination and improving appearance. A product that fades a dark mark has not necessarily resolved the mould problem. If moisture remains, cleaning alone does not address the conditions supporting growth.
For Sydney bathrooms in 2026, choose by material and condition, not the strongest claim on the bottle. Glazed tiles, silicone joints and painted plaster are different cleaning problems. A single spray is not automatically suitable for all three.
Housekept suits Sydney households seeking routine home cleaning; specialist assessment is the better choice for mould inside building materials. Keep that distinction clear before booking a cleaner or buying another bottle.
What makes the best mould remover?
Use these criteria to judge a bathroom mould treatment before choosing it:
- Surface compatibility: The label must allow use on the affected material. Check grout, sealants, metals and natural stone separately.
- Physical removal: Cleaning should remove surface contamination, not merely make dark marks less visible.
- Clear instructions: Application, contact time, rinsing and ventilation requirements must be readable and practical for your bathroom.
- Exposure control: Choose an application method you can use without splashing yourself or breathing spray mist.
- Problem fit: A small surface patch needs a different response from damp plaster, damaged silicone or recurring growth.
- Moisture follow-up: The cleaning plan must include checking why the area stays wet.
The best mould remover is the one matched to the surface and the moisture problem—not simply the one that whitens fastest.
Best bathroom mould treatments at a glance
This 2026 comparison ranks treatment types rather than individual bottles. Formulations and approved surfaces differ, so the instructions on the product you actually buy remain the deciding factor.
1. Detergent and water
- Best for: Small surface patches on washable hard materials
- Standout feature: Physical cleaning without a dedicated bleaching treatment
- Key limitation: Does not necessarily remove established staining
2. Chlorine-bleach mould remover
- Best for: Remaining dark stains on label-approved hard surfaces
- Standout feature: Bleaching action can improve appearance
- Key limitation: Unsafe combinations and material damage require care
3. Hydrogen-peroxide mould remover
- Best for: A chlorine-free treatment with explicit mould instructions
- Standout feature: An alternative active ingredient
- Key limitation: Concentration, compatibility and directions vary by product
4. Qualified mould assessment and remediation
- Best for: Recurring, concealed or building-material contamination
- Standout feature: Addresses a problem beyond surface cleaning
- Key limitation: Requires arranging an assessment rather than buying a spray
Do not treat the table as permission to apply every option in sequence. Pick the appropriate approach and follow its instructions. Never mix cleaning chemicals or combine them on a surface.
1. Detergent and water: best mould remover for small surface patches
Detergent and water are the practical first choice for a small patch on a washable, non-porous surface. Cleaning loosens contamination so you can physically remove it with a cloth. It also lets you inspect what remains rather than judging the job solely by how white the surface looks.
Keep the work localised and avoid dry brushing, which can spread mould particles. Follow the detergent label, use suitable protection and dry the area after cleaning. This approach does not make porous or water-damaged materials suitable for DIY treatment.
Detergent and water pros
- Removes surface contamination through cleaning rather than relying on bleaching.
- Gives you a clear view of remaining stains, damaged sealant or deteriorating grout.
- Provides a simple starting point for washable surfaces when their care instructions permit it.
Detergent and water cons
- Dark discolouration can remain after surface cleaning.
- Does not resolve dampness inside walls, failed waterproofing or contaminated porous materials.
Best for: A small, accessible patch on a hard surface that can be washed and dried.
For a 2026 bathroom-cleaning routine, separate routine washing from corrective work. If the same patch returns, investigate dampness rather than repeatedly increasing chemical strength.
Verdict: Buy a surface-compatible detergent for straightforward surface cleaning; stop DIY work when the material is damaged or the problem keeps returning.
2. Chlorine-bleach mould remover: best for remaining surface stains
A labelled chlorine-bleach mould remover can improve dark staining on compatible bathroom surfaces. That makes it a conditional choice for appearance, not the default answer to every mould problem. Read the label before treating grout, silicone, fittings or painted finishes.
Bleach must never be mixed with acids, including vinegar, or with ammonia-containing cleaners. These combinations can release dangerous gases. Ventilate as directed, avoid spray mist and keep other cleaning products out of the task.
Chlorine-bleach mould remover pros
- Bleaching action can reduce visible dark staining.
- A dedicated bathroom product supplies application and rinsing instructions.
- Offers a targeted option where the label explicitly permits the surface and use.
Chlorine-bleach mould remover cons
- Can damage or discolour unsuitable materials and nearby finishes.
- Fading a mark does not repair a leak or establish that contamination inside a material is resolved.
- Creates a serious chemical hazard when combined with incompatible cleaners.
Best for: Remaining stains on hard bathroom surfaces specifically approved by the product label.
Before applying it, inspect the joint. Loose silicone, cracks and staining beneath sealant call for a maintenance decision, not another layer of spray. Do not promise yourself that whitening will restore a failed seal.
Verdict: Hold until surface compatibility is confirmed; use only as directed and never combine it with another cleaner.
3. Hydrogen-peroxide mould remover: best for a chlorine-free treatment
A hydrogen-peroxide mould remover is an alternative when you want a product without chlorine bleach. Choose a formulation whose label explicitly covers mould removal and your bathroom material. A household peroxide bottle is not automatically a substitute for a labelled bathroom treatment.
Chlorine-free does not mean harmless or compatible with every surface. Hydrogen peroxide is an oxidising agent, and products differ in formulation and concentration. Follow the supplied protection, application and rinsing instructions rather than an online recipe.
Hydrogen-peroxide mould remover pros
- Provides an alternative to chlorine-based formulations.
- A mould-specific label defines the intended treatment and approved use.
- Can fit a targeted cleaning task when the material and instructions match.
Hydrogen-peroxide mould remover cons
- Can alter colours or damage incompatible finishes.
- Performance and required contact time cannot be assumed across different products.
- Does not correct persistent dampness or contamination behind the surface.
Best for: A label-approved bathroom surface where you specifically want a chlorine-free mould treatment.
Do not mix hydrogen peroxide with vinegar or other cleaning products. Avoid improvised dilutions unless the manufacturer instructs you to dilute. Keep the original packaging so the safety directions stay with the product.
Verdict: Buy only a mould-labelled formulation that names your surface; skip improvised peroxide mixtures.
4. Qualified mould remediation: best for recurring or concealed growth
Qualified assessment and remediation are the better route when mould returns despite cleaning, affects damaged building materials or appears connected to a leak. The task is no longer just removing a mark. It is finding the moisture source and deciding what can be cleaned, repaired or replaced.
Ask the provider to explain the proposed scope before work starts. Surface cleaning, moisture investigation and building repairs are different tasks. A useful assessment makes those boundaries clear rather than offering a spray as the complete answer.
Qualified mould remediation pros
- Focuses attention on moisture and material condition, not appearance alone.
- Provides an assessment route for inaccessible or concealed contamination.
- Helps distinguish cleaning work from repair or replacement work.
Qualified mould remediation cons
- Requires arranging access and an assessment rather than treating the patch immediately.
- Repair work can sit outside the remediation provider's scope.
Best for: Recurring growth, mould in porous building materials, concealed dampness or a problem you cannot safely assess yourself.
Housekept provides residential and commercial cleaning, but routine cleaning should not be treated as a substitute for specialist mould assessment. Tell any cleaner about suspected mould before the visit so the task is discussed rather than discovered on arrival.
Verdict: Skip another surface spray when the underlying material or moisture source needs attention; arrange an assessment.
Match the treatment to the bathroom surface
Your 2026 product shortlist should start with the material, not the stain's colour. Identify these 3 surface groups before choosing a treatment:
- Glazed tiles: Check the tile finish and nearby fittings. Product approval for tiles does not automatically cover metal trim or adjoining grout.
- Silicone and grout: Look for cracks, loose edges and staining beneath the surface. Cleaning cannot restore a failed waterproof seal.
- Paint and plaster: Bubbling paint, softness or recurring staining need a moisture investigation. Do not saturate a wall to chase a mark.
Natural stone needs its own care instructions. Acidic products can damage some stone, and aggressive bathroom treatments are not automatically safe because the surface feels hard.
Soap scum and mineral deposits also affect what you see. Do not assume every dark or cloudy mark needs mould treatment, and do not layer different cleaners to tackle several problems at once.
A safe bathroom-cleaning sequence
Use this 4-step sequence for a small, accessible patch on a suitable washable surface. Stop if you find damaged materials, concealed dampness or a task you cannot safely manage.
Inspect
Identify the surface and check for leaks, failed sealant or persistent wetness. Read the full product label before opening the container. People with asthma, allergies or immune-system concerns should avoid exposure and seek appropriate advice about the task.
Prepare
Ventilate the room as instructed and use the protection specified on the label. Keep children and pets away from the work area. Use 1 cleaning product at a time, and never apply a second chemical over residue from another.
Clean
Test 1 inconspicuous patch before treating the visible area. Use the stated application method and contact time; a longer exposure is not automatically better. Remove contamination and rinse only as the product and surface instructions require.
Dry
Dry the treated surface and check what remains. Dispose of or clean used materials appropriately, then monitor the area for renewed growth. Record recurring patches and any signs of leaks so a maintenance provider has a clear description.
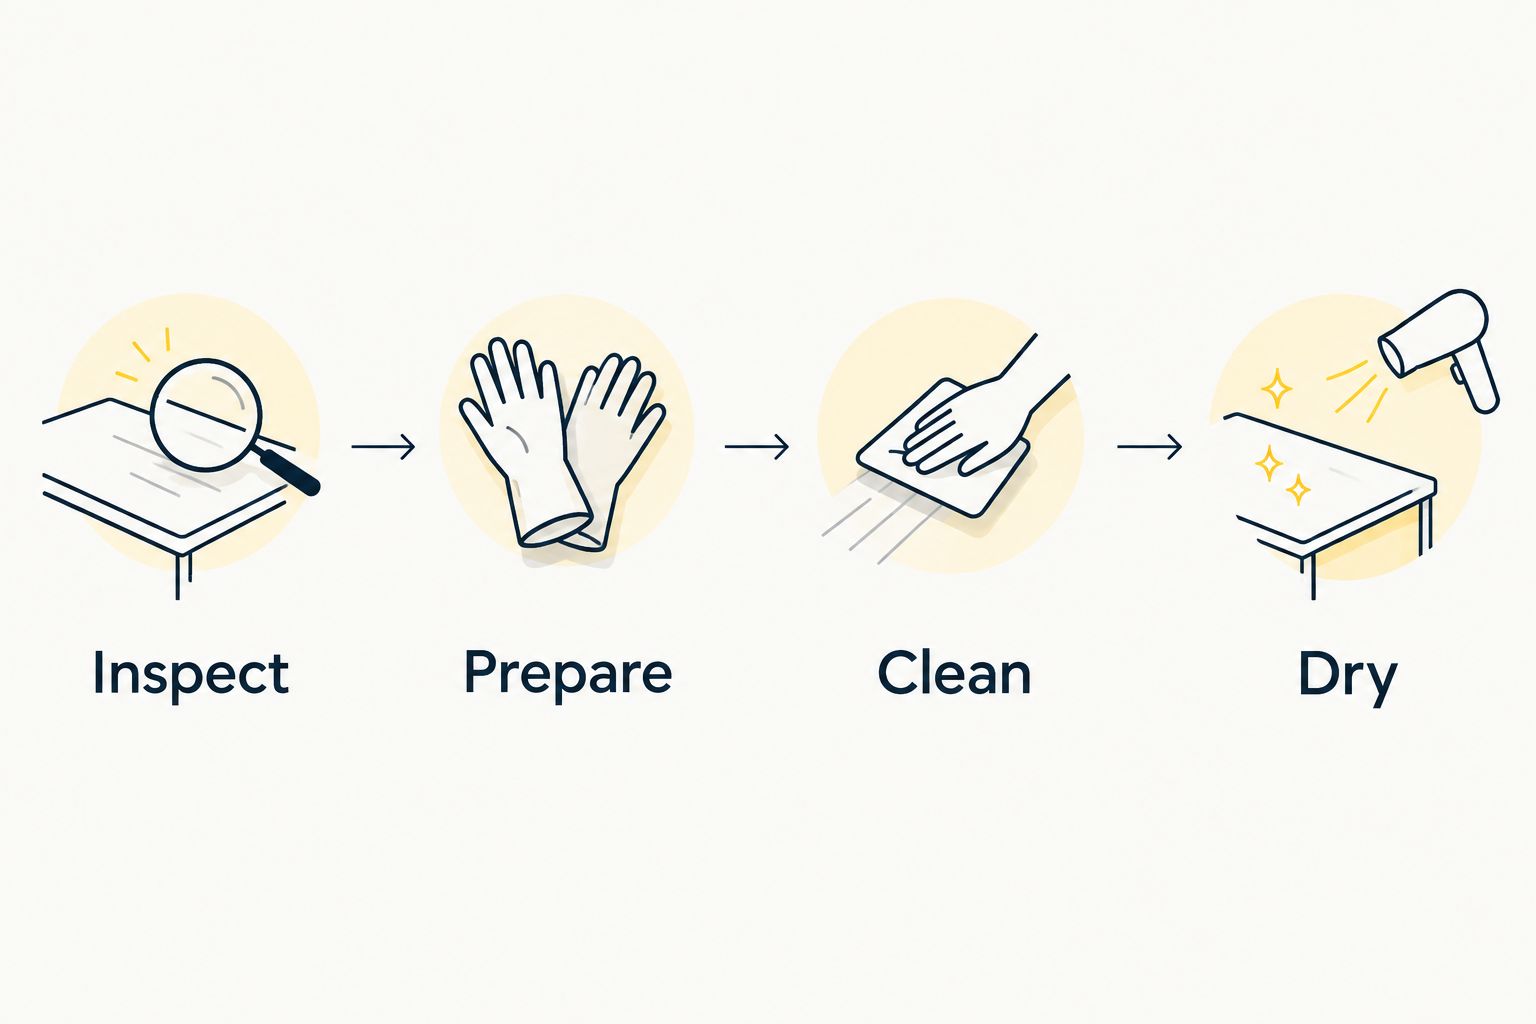
Inspect the material before choosing or applying a cleaner.
How we ranked these options
The 2026 ranking prioritises surface compatibility, physical removal, clear instructions, exposure control and the moisture problem. It is a decision guide, not a claim that individual bottles were tested against each other.
Detergent and water lead for small washable surface patches. Dedicated chemical treatments occupy narrower slots, while remediation becomes the right choice when surface cleaning does not match the problem.
Which mould remover should you choose?
Choose detergent and water first for a small patch on a suitable washable hard surface. Choose a labelled specialist product only for a defined task on an approved material. Choose qualified assessment when mould returns, materials deteriorate or the affected area cannot be safely inspected.
That is the practical 2026 verdict: match the treatment to the surface, then deal with the dampness. Buying a stronger bottle without changing the conditions leaves the central problem untouched.
FAQ
What's the best mould remover for a Sydney bathroom?
Detergent and water are the practical first choice for small surface patches on suitable washable hard materials. A labelled mould remover can suit a narrower task, while recurring or concealed growth needs its moisture source investigated.
Is bleach better than detergent for bathroom mould?
Bleach is not automatically better than detergent for bathroom mould. Detergent supports physical removal, while a labelled bleach treatment can improve staining on approved surfaces; neither repairs leaks or damaged materials.
Can I use vinegar after a bleach mould spray?
Do not apply vinegar over bleach or its residue. Combining acids with chlorine bleach can release dangerous gases; follow the product instructions and keep incompatible cleaners separate.
Will mould remover fix black marks inside silicone?
Mould remover does not repair damaged silicone or guarantee removal of marks within it. Check for loose edges, cracks and underlying dampness before deciding whether the sealant needs replacement.
Is hydrogen peroxide safe on every bathroom surface?
Hydrogen peroxide is not safe on every bathroom surface. Use a mould-labelled formulation only where its instructions permit the material, and test an inconspicuous area first.
Why does bathroom mould keep coming back after cleaning?
Recurring bathroom mould means the conditions supporting growth still need attention. Check persistent wetness, ventilation, leaks and material damage rather than repeatedly applying stronger cleaners.
Can Housekept help with regular bathroom cleaning?
Housekept provides home cleaning across Sydney, Shoalhaven and Illawarra. Discuss the bathroom's condition before booking, and arrange specialist assessment for recurring, concealed or building-material mould.
One last thing
Inspect the reverse side of the problem where you can do so safely: an accessible vanity interior, a visible pipe connection or the adjoining room. A clean tile face tells you little about moisture behind it. Fix the source of recurring dampness before making another cleaner your permanent bathroom routine.